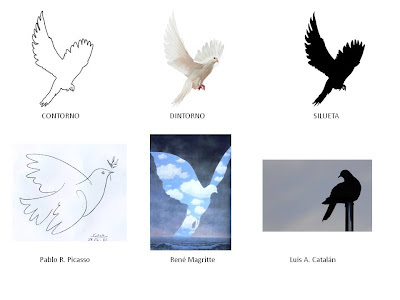
Here you have a slideshow to learn about what texture is, types of texture and some artists that used different types of textures.
ACTIVITY 1
Now it is your turn to draw textures. In this worksheet you have to draw each texture or an object with each texture.
You have the meaning of each name of texture in the slides 4 and 5 of the previous slideshow.
You can print it or draw the textures in a white sheet of paper. If you do it that way, remember to write the name of each texture.
You can use any technique you want.
DEADLINE - MAY 29th.
Ahora es tu turno de dibujar texturas. En esta ficha tienes que dibujar cada textura o un objeto con cada textura. Tienes el significado de cada nombre de textura en las diapositivas 4 y 5 de la presentación.
Puedes imprimir la ficha o dibujar las texturas en una hoja de papel. Si lo haces así, recuerda escribir el nombre de cada textura.
Puedes usar la técnica que quieras.
Fecha de entrega - 29 de Mayo.
Texture worksheet from Miriam Gonzalez Gil
ACTIVITY 2 - FROTTAGE

Atención - para el frottage hay que usar lápiz, lápices de colores o ceras. No sale con rotuladores.
ACTIVITY 2 - FROTTAGE

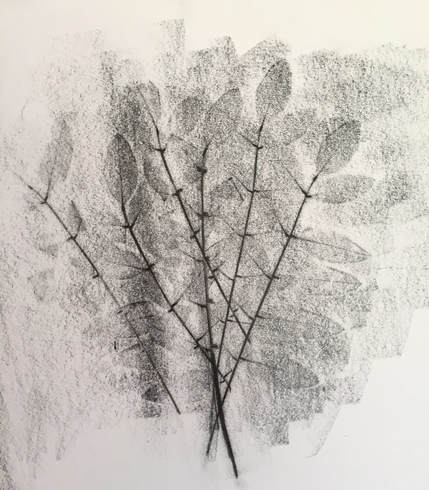
This technique is where you place a flat
object under your paper and blend over the top to create an image.
Frottage is the act of rubbing to create a
texture.

In the following video you can learn how to use the frottage technique.

In the following video you can learn how to use the frottage technique.
Now it is your turn to explore this way of getting textures.
Pay attention to this video, because you have to do something similar.
You have to test different surfaces with differente colours in a paper, later you have to arrange a composition to make a lanscape. Do you remember the artworks of Max Ernts in the slideshow?
Look at slides 21 and 22.
DEADLINE - JUNE 4th.Look at slides 21 and 22.
Atención - para el frottage hay que usar lápiz, lápices de colores o ceras. No sale con rotuladores.
Here you have some expamples of drawings made with this technique.


I hope you enjoy it!


